Freelance video editors often face tight deadlines and repetitive tasks that can slow down their workflow.
To deliver high-quality edits faster and take on more projects, you need efficient strategies. Here are five practical tips to save time while maintaining professional results:
- Batch Processing: Automate repetitive tasks like color correction and trimming across multiple videos to save hours on bulk projects.
- Editing Presets: Create reusable settings for color grading, transitions, and audio adjustments to speed up editing and ensure consistency.
- DriveEditor: Edit videos directly in Google Drive without downloading files, simplifying collaboration with clients and reducing file transfer time.
- Keyboard Shortcuts: Master shortcuts to handle repetitive actions like cutting, trimming, and organizing clips faster.
- File Organization Systems: Use a standardized folder structure and consistent file naming to quickly locate and manage assets.
10 MUSTS for Freelance Video Editing | DO THIS OR FAIL!!!
1. Use Batch Processing for Multiple Videos
Batch processing is a game-changer for video editing, especially when working on multiple clips with similar requirements. By automating repetitive tasks, this method allows you to apply the same edits across several videos at once. It's perfect for creating short-form content like social media posts, marketing videos, or branded clips that follow a consistent format. Plus, it’s a huge time-saver when deadlines are tight.
Cuts Down on Repetitive Tasks
One of the biggest advantages of batch processing is the ability to eliminate tedious, manual work. For example, when editing Instagram Reels or YouTube Shorts, you can automate tasks like color correction, adding watermarks, or trimming clips to a specific length.
"The key benefit of editing videos in batches is efficiency. The once tedious and repetitive tasks involved in manually creating and editing a large number of videos are now replaced by automation. This results in significant time and cost savings, making it a highly cost-effective solution."
To make the most of batch processing, create reusable templates for recurring projects. These templates can include common elements like watermarks, intro/outro sequences, text overlays, and cropping specifications. For instance, if you're producing weekly product showcase videos for an e-commerce brand, a well-designed template ensures consistency while saving hours of effort.
Focus on automating high-volume, low-risk tasks such as background noise removal, auto-generated captions, or adding branding elements. Research from McKinsey shows that over 50% of work tasks can now be automated in the digital era. This means you can tackle more projects without sacrificing quality.
Makes Workflows More Efficient
Batch processing doesn’t just save time - it transforms how you manage your workflow. Start by organizing your assets. Use consistent naming conventions and group your files into clearly labeled folders. This small step can make a big difference when you’re juggling dozens of video clips.
Another way to streamline your process is to use data sources like spreadsheets or CSV files. These tools help you manage bulk content creation by specifying text, metadata, or image replacements for multiple video variations. This approach is particularly effective for creating localized content or running A/B tests on social media campaigns.
When it’s time to export, take advantage of batch export features. Add your completed videos to a render queue and let the system process them in the background. You can also create export presets tailored for specific platforms like YouTube, TikTok, or Instagram. This ensures that each video meets the required specifications - like bitrate, codec, and audio levels - without the need for manual adjustments.
These steps not only improve productivity but also make it easier to manage your growing library of video assets.
Simplifies Asset Management
Batch processing also helps you stay organized. By processing videos in batches and documenting your workflows, you can create Standard Operating Procedures (SOPs) that outline every step of the process. These SOPs should include details like the tools used, quality control checkpoints, and troubleshooting tips. This documentation is invaluable for maintaining consistency and training team members or virtual assistants.
A systematic approach ensures that every video you produce looks polished and professional.
Ensures Consistent Results
One of the standout benefits of batch processing is the ability to maintain consistent visuals and audio across a series of videos. By applying the same color grading, audio levels, and formatting to all clips, you eliminate the minor inconsistencies that often arise with manual editing.
"Batching is one of the best ways to create efficiency, especially on large projects. In the editing process, you need to complete sorting, labeling, color correction, advanced editing, cropping, exporting, and delivery. That's a lot of steps to take. When you batch steps across an entire group of images, you'll find it's much easier to get into flow. Not only will the work go by more quickly, but you'll also find that your editing becomes much more consistent as well."
To keep things running smoothly, monitor and refine your workflows regularly. Set clear goals and Key Performance Indicators (KPIs), gather feedback, and document any improvements. Stay up-to-date with new tools and features, and always have quality checks and backup plans in place for critical projects.
Batch processing not only saves time and effort but also ensures that your projects scale efficiently. Up next, we’ll look at how tools like Drive Editor can take your workflow to the next level.
2. Create and Save Editing Presets
Saving editing presets can be a game-changer for anyone looking to speed up their video editing process. These presets act like shortcuts, allowing you to apply your go-to settings - like color grades, effects, transitions, or audio tweaks - instantly across multiple projects. Instead of manually adjusting settings for each clip, you can reuse your favorite configurations, making the entire workflow smoother and faster.
Reduces Time Spent on Repetitive Tasks
One of the biggest perks of using presets is how much time they save on repetitive tasks. For example, if you're editing short-form videos for social media, you don’t want to waste time color-correcting each clip one by one. A preset tailored to your preferred style can turn raw footage into polished content in seconds.
Here are some common presets every freelancer should consider creating:
- Color correction LUTs to maintain a consistent visual tone
- Motion graphics templates for lower thirds and titles
- Audio presets for noise reduction and volume leveling
- Transition presets for smooth cuts and fades
- Zoom effects to highlight key features in product demos
The key is to identify adjustments you make regularly - like tweaking shadows or adding branded elements - and save them as presets for quick reuse.
Improves Workflow Efficiency
Presets also boost efficiency by automating repetitive technical adjustments, freeing up more time for creativity. This is especially helpful when working on short-form content, where tight deadlines demand fast turnarounds.
To make the most of your presets, label them clearly and organize them by type or client. This way, you can quickly find and apply the right one without digging through a cluttered library.
If you're a freelancer constantly on the move, tools like Drive Editor make it even easier. You can copy and paste presets directly within Google Drive, ensuring your settings are always accessible and ready to use, no matter where you’re working.
Enhances Project Consistency
Using presets doesn’t just save time - it also ensures your projects have a consistent, professional look. Whether it’s uniform color grading, matching audio levels, or branded lower thirds, a consistent visual style strengthens your brand identity and keeps clients coming back for more.
Experts in the field emphasize how presets reduce manual labor and cut down on errors during repetitive tasks. In fact, professional editors report that using presets can slash editing time by 20–30% on projects with recurring elements. While it takes some initial effort to create a robust library of presets, the long-term payoff is huge. A few hours spent building presets today could save you dozens of hours in the future - helping you take on more projects without sacrificing quality or burning out.
3. Edit Videos Directly in Google Drive with DriveEditor
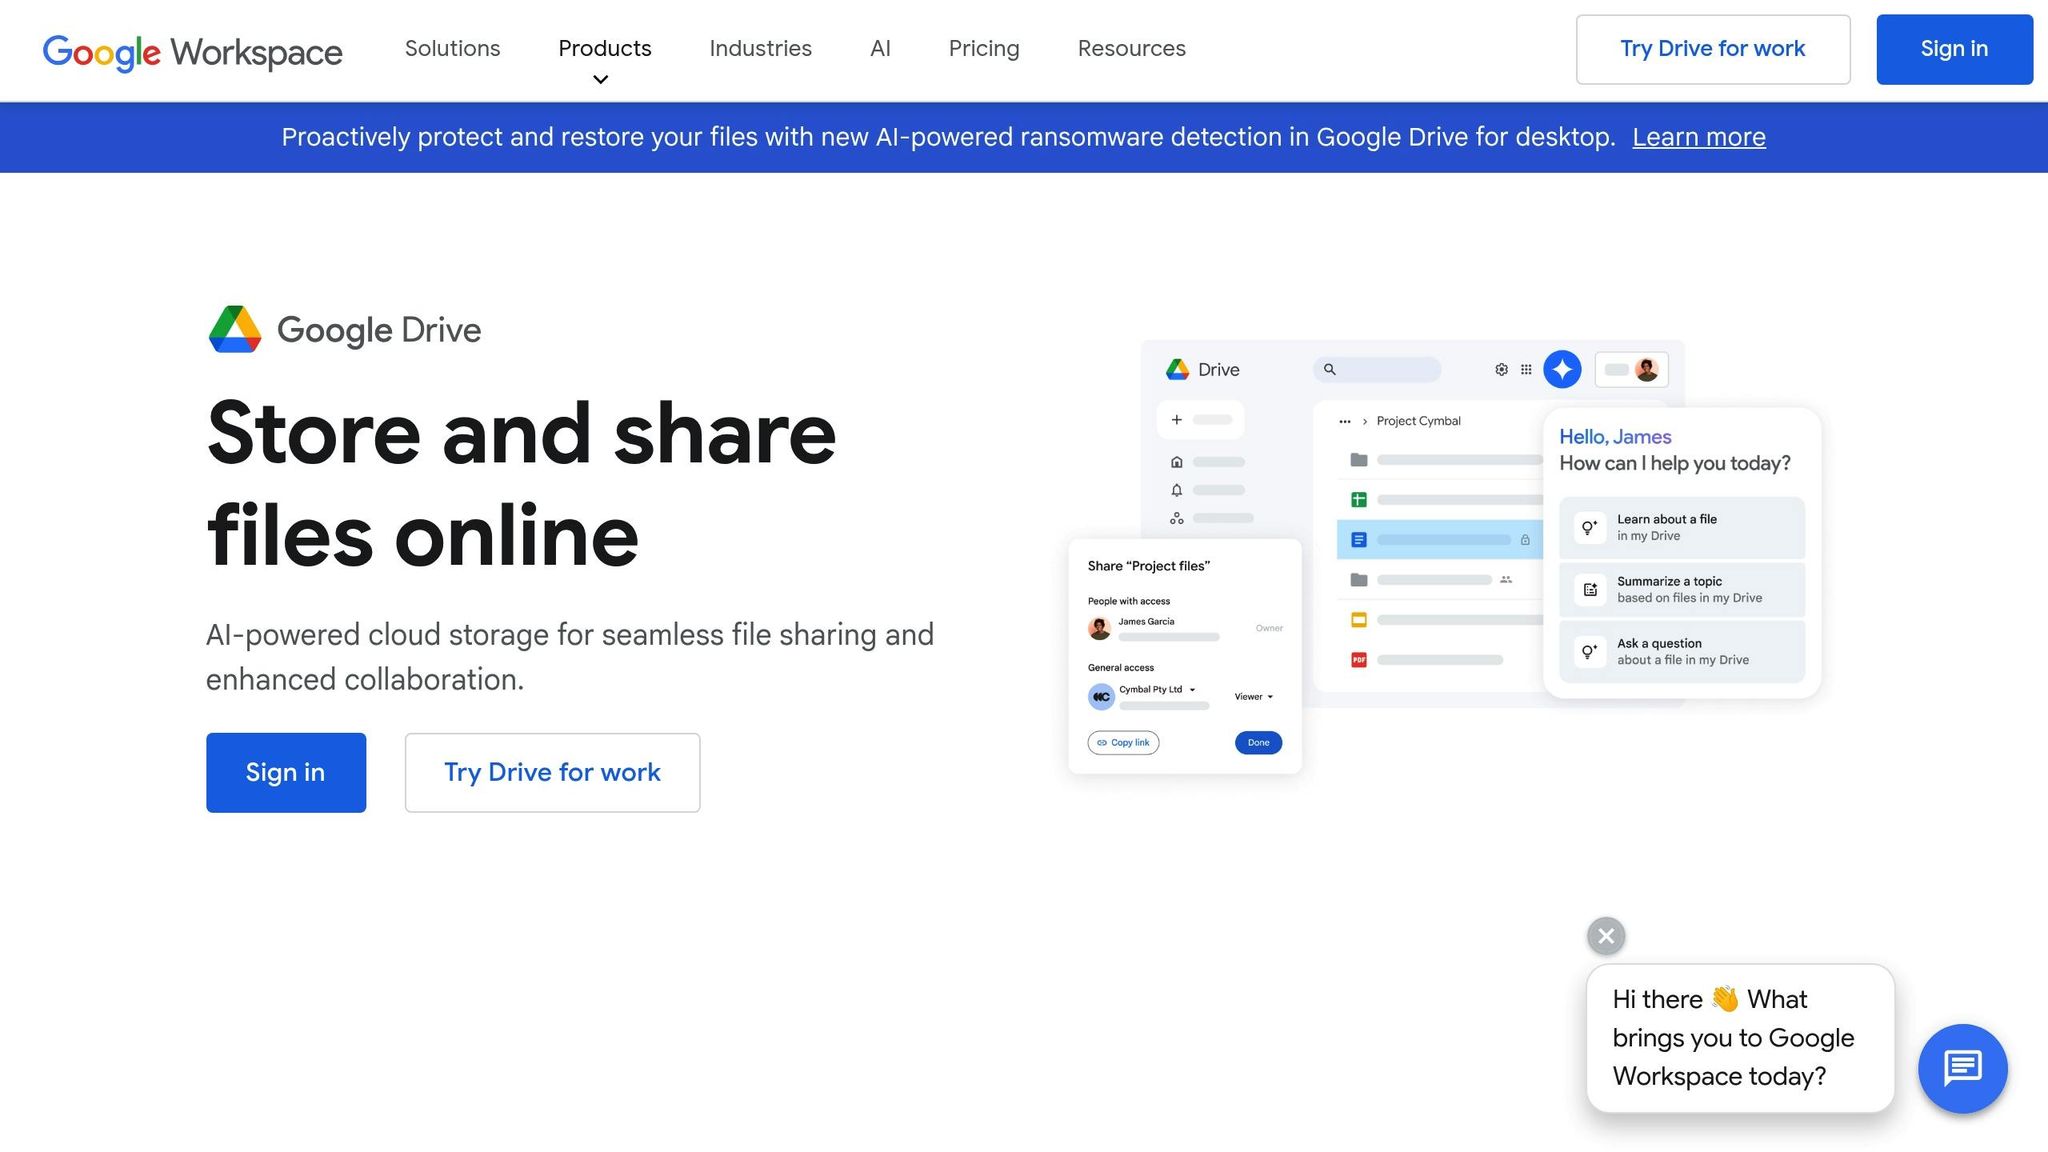
With DriveEditor, you can skip the hassle of transferring files and edit videos directly within Google Drive. This Chrome extension turns your Drive into a fully functional video editing workspace, letting you handle all your editing tasks right in your browser. No downloads, no extra steps - just streamlined editing.
This setup is especially useful for managing multiple client projects stored in different Drive folders. Since the extension supports popular video formats like MP4, MOV, AVI, MKV, and WEBM, you won’t have to worry about compatibility issues when working with client uploads.
Key Editing Features
Drive Editor is packed with tools tailored for short-form content. You can:
- Trim and crop videos for social platforms.
- Add text overlays for captions or branding.
- Adjust brightness, contrast, rotation, mirroring, and playback speed.
- Remove metadata to strip sensitive information from client videos before publishing.
These features make it a practical choice for quick edits while ensuring your content looks polished.
Seamless Workflow Integration
One of the best things about DriveEditor is how effortlessly it fits into your existing Google Drive workflow. Once the Chrome extension is installed, just log into your Google Drive, select a video file, and hit the "Edit video" button under the preview. That’s it - no extra software or account setups needed. Read this article for a step-by-step guide on how to start editing videos with DriveEditor
The extension also works seamlessly with shared Drive folders. When clients upload raw footage to a shared folder, you can start editing right away. No need for email attachments or additional file transfers, saving you and your clients valuable time.
Copy-Paste Presets for Efficiency
To make your workflow even faster, DriveEditor includes copy-paste presets. These allow you to apply the same settings - like color corrections, text styles, or crop dimensions - across multiple videos. This ensures brand consistency while significantly cutting down editing time. It’s a game-changer for freelance editors working on short-form projects.
The tool is optimized for videos under 50 MB and under 5 minutes in length, making it ideal for platforms like Instagram Reels, TikTok, and YouTube Shorts. No wonder many freelance editors swear by it.
Pricing That Fits Freelance Budgets
Drive Editor offers flexible pricing designed with freelancers in mind. You can try it out with 3 free video edits and get 10 more free edits every month. For occasional projects, pay-as-you-go options start at $7 for 30 edits. If you’re a heavy user, unlimited monthly editing is available for $29 per month.
Privacy is also a top priority. The platform doesn’t collect your Google Drive data and is verified by TAC Security, giving you peace of mind when working with sensitive video content.
sbb-itb-0482353
4. Learn Keyboard Shortcuts for Faster Editing
Keyboard shortcuts are a real lifesaver when it comes to speeding up your editing process. They help you reduce manual tasks, making your workflow smoother and faster. For editors juggling multiple client projects and tight deadlines, mastering these shortcuts can be the difference between staying ahead and falling behind.
"Mastering keyboard shortcuts is like unlocking a secret superpower for editors. It's a game-changer for productivity and time management." - Rafal Koscinski
Start with the basics - universal shortcuts that work across most software. Once you’ve nailed those, move on to editing-specific commands, and eventually, create custom shortcuts tailored to your unique workflow.
Cuts Down on Repetitive Tasks
Shortcuts are perfect for handling repetitive tasks that can otherwise slow you down. For example:
- Use the JKL keys to quickly scrub through footage while pinpointing important dialogue or actions. These keys let you review content at lightning speed.
- The Add Edit function (Alt + V) allows you to cut directly at the playhead without any extra hassle. Pair this with the Razor Tool (often C or Z) for precise cuts without reaching for the mouse.
- Ripple Trim shortcuts automatically close gaps, eliminating the need for manual adjustments.
- The Track Select Forward and Backward tools let you grab multiple clips at once - perfect for shifting entire sections of your timeline or applying changes across multiple clips.
With these shortcuts, your editing process becomes a smooth, uninterrupted flow.
Boosts Workflow Efficiency
When you're in the zone, the last thing you want is to break your rhythm. Keyboard shortcuts help you stay in that creative flow by keeping your hands on the keyboard and your focus on the project.
- Use Mark In and Out points (I and O keys) to quickly select sections of footage for editing or exporting. This simple action saves time and keeps your workflow moving.
- Customize shortcuts for your most-used actions, placing them within easy reach. This ergonomic setup reduces strain and ensures you maintain your speed, even during long editing sessions.
Makes Asset Management Easier
Shortcuts aren’t just for editing - they’re also great for organizing your assets. For instance, you can use color labels via number pad keys to categorize your clips effortlessly. Assign red (1) for your best takes, blue (3) for alternate angles, or any system that fits your needs. This makes identifying footage types quick and intuitive.
When managing multiple projects, this system becomes even more valuable. You can easily differentiate between approved clips, alternate takes, and those pending client feedback. It’s a simple way to keep everything organized without wasting extra time.
5. Set Up File Organization Systems
An organized file system is essential for efficient video editing. According to a survey by Frame.io, editors can lose up to 30% of billable hours searching for files in chaotic setups. On the flip side, a well-structured system can cut editing time by 20-30% on average. For freelancers juggling multiple clients and tight deadlines, this means more productivity and, ultimately, higher earnings.
Reduces Time Spent on Repetitive Tasks
Using a standardized folder structure eliminates the hassle of starting from scratch with every new project. Instead, you can rely on a template that works. Begin with a master folder for each client or project, then create subfolders with clear labels like "Raw Footage", "Audio Files", "Graphics", and "Final Exports." This setup ensures you can quickly locate important assets without wasting time.
Naming your files consistently is just as important. Stick to descriptive, date-based file names in the MM-DD-YYYY format commonly used in the U.S. For instance, a file named "10-15-2025_ClientInterview_Audio.wav" clearly shows what it contains and when it was created. This approach is especially helpful when dealing with multiple versions or takes of the same content.
Improves Workflow Efficiency
A solid file structure sets the stage for a smoother workflow. When your storage system mirrors your editing software's layout, managing assets becomes second nature. This alignment allows you to find files in seconds, making it easier to import assets, apply batch processes, and export final versions - especially critical for short-form projects with tight deadlines. By spending less time on file management, you can focus more on creative decisions and client collaboration.
Simplifies Asset Management
Good file organization doesn’t just save time - it also keeps your workspace functional and clutter-free. Regularly clearing out unused or duplicate files prevents confusion and ensures you aren’t scrolling endlessly through similar-looking items.
Cloud storage platforms like Google Drive are a favorite among freelancers for their convenience and collaborative features. Tools like DriveEditor take this further by enabling direct video editing within Google Drive, cutting out the need to download, edit, and re-upload files. This streamlined approach is a game-changer for those working across multiple devices or collaborating remotely.
To safeguard your work, set up automated backups to both local and cloud storage. This dual system protects your files while giving you access from anywhere. Some editors also use automation tools to batch-rename files or sort new assets into the right folders automatically, further cutting down on manual effort.
Enhances Project Consistency
Consistency in your file organization builds a professional workflow that grows with your business. When every project follows the same structure, it’s easier to reuse workflows, apply templates, and maintain a consistent editing style. This uniformity is especially helpful when revisiting old projects or bringing collaborators on board.
Take the example of a freelance editor working on wedding videos. By using a standardized folder structure - including subfolders for raw footage, music, graphics, and exports - they reduced project turnaround time by 20%. This level of organization not only minimizes mistakes but also showcases reliability and attention to detail, traits that encourage repeat clients and referrals.
Conclusion
These five techniques can revolutionize freelance video editing workflows. By integrating these strategies into your process, you can improve productivity and stay ahead in today’s fast-moving video production industry.
The examples speak for themselves. Megan Rutherford, a video producer specializing in marketing content, has witnessed firsthand how automation and keyboard shortcuts significantly enhance efficiency. Similarly, Carson Nyquist has reduced delays in pre-production by leveraging cloud-based tools and templates. These real-world cases highlight how optimizing workflows can lead to tangible business advantages.
Streamlining your editing process doesn’t just save time - it builds client trust and opens the door to repeat business. For freelancers creating short-form content, the benefits are especially clear. Professional editors often deliver 60-second videos within 24–48 hours. This quick turnaround allows skilled freelancers to command premium rates, with top earners making over $100 per hour, compared to the standard $25–$75 range. One fitness brand even reported a 30% increase in engagement after hiring a freelancer who adhered to their style guide.
"By automating routine tasks and managing your time wisely, you can invest more effort into storytelling, visual effects, and other areas where creativity makes a significant impact. The result is a better end product and an improved reputation as a creative professional within the freelance video production industry."
Tools like DriveEditor further simplify workflows by eliminating the traditional download–edit–upload cycle, which is particularly useful for freelancers working with remote clients.
An optimized workflow doesn’t just save time in the moment - it also boosts client satisfaction, generates referrals, and allows you to take on more projects without compromising quality. As video continues to dominate digital marketing - with 89% of businesses expected to use video as a marketing tool by 2025 - freelancers who master these efficiency techniques will be in an excellent position to meet the growing demand.
The best way to begin? Start small. Pick one or two techniques that align with your current workflow, apply them consistently, and expand from there. By refining your process, you’ll not only save time but also strengthen client relationships and set yourself up for long-term success. Your future self - and your clients - will appreciate the effort you put into becoming a more efficient, professional video editor.
FAQs
What are the benefits of batch processing for freelance video editors?
Batch processing is a game-changer when it comes to simplifying your workflow. It allows you to apply the same edits - like trimming, adjusting colors, or adding text - to multiple videos simultaneously. This not only saves you a ton of time but also eliminates the need for repetitive tasks, making it perfect for short-form video projects.
Another perk? It ensures your edits stay consistent across all your videos, which is crucial when you're working under tight deadlines. This is especially true for freelancers who need to deliver polished work quickly. Tools like DriveEditor make batch processing a breeze, so you can spend less time on manual tasks and more time focusing on the creative side of things.
How do editing presets save time and improve the video editing process?
Editing presets can be a huge time-saver for freelance video editors, especially when tackling short-form projects. With just a few clicks, these presets let you apply preconfigured effects and settings, eliminating the need to manually tweak adjustments for every single video. The result? A faster workflow and consistent, polished results.
Another big advantage of presets is the consistency they bring across multiple videos. This is key for maintaining a strong, cohesive brand identity that keeps your audience engaged. By automating repetitive tasks, presets free up more time for the creative side of editing, helping you deliver high-quality work more efficiently.
How can using DriveEditor within Google Drive save time and enhance client collaboration for freelancers?
Using DriveEditor directly in Google Drive can be a game-changer for freelancers. It eliminates the hassle of downloading and re-uploading video files, letting you handle tasks like trimming, cropping, and adjusting brightness right in the cloud. This means less time juggling files and more time focusing on your projects.
Another big plus? It makes working with clients smoother. Real-time feedback and easy sharing keep everyone on the same page. Plus, with everything stored in one central location, staying organized gets a lot easier. Miscommunications are reduced, and project turnaround times can be much faster.