Editing videos directly in Google Drive is now possible with DriveEditor.
Google Drive video editor allows you to work on video projects without expensive software or powerful hardware. Whether you're a freelancer or a social media manager, you can organize, edit, and share videos - all from your cloud storage.
Key Features:
- Basic Editing Tools: Trim, crop, rotate, zoom, adjust brightness/contrast, and more.
- Text Overlays: Add captions, titles, or messages.
- Format Support: MP4, MOV, AVI, MKV, WEBM.
- Plans: 3 Free edits and paid options starting pay as you go at $7 or $29/m.
Why Use It?
- Work Anywhere: Edit videos on Google Drive.
- Collaboration: Edit and save shared videos with teams or clients for easy feedback.
- Quick edits: Use presets to apply edits instantly.
Quick Steps:
- Set Up: Install the editor from the Chrome Web Store and refresh your Drive
- Edit: Open a video in Google Drive. Click on Edit video. Make changes.
- Export: Save videos as a new file or replace the original video.
It’s simple, secure, and effective for users managing multiple video projects.
Google Drive Video Editor | Edit Google Drive Videos Online
Setting Up Your Google Drive for Video Editing
Get your Google Drive organized to make video editing - whether solo or collaborative - more efficient.
Uploading and Organizing Video Files
Start with a solid folder structure. Group files by client, project, or content type, and create subfolders for raw footage, edited videos, and other assets. Stick to a consistent naming system like "YYYY-MM-DD_ProjectName_Version" to keep everything easy to find.
When uploading, place files directly into their designated folders. Google Drive supports a variety of video formats, including MP4, MOV, AVI, MKV, and WEBM, so compatibility shouldn’t be an issue.
To share files, right-click on a folder, select "Share", and adjust permissions. This allows clients to upload files while preventing accidental deletions.
Keep storage limits in mind. Free Google accounts come with 15 GB of shared storage across Gmail, Drive, and Photos. Since video files can eat up space quickly, upgrading to Google One might be necessary. Plans start at $1.99/month for 100 GB, which is a reasonable option for those working with video regularly.
Once your files are neatly organized, you’re ready to set up the Google Drive Video Editor.
Installing Google Drive Video Editor
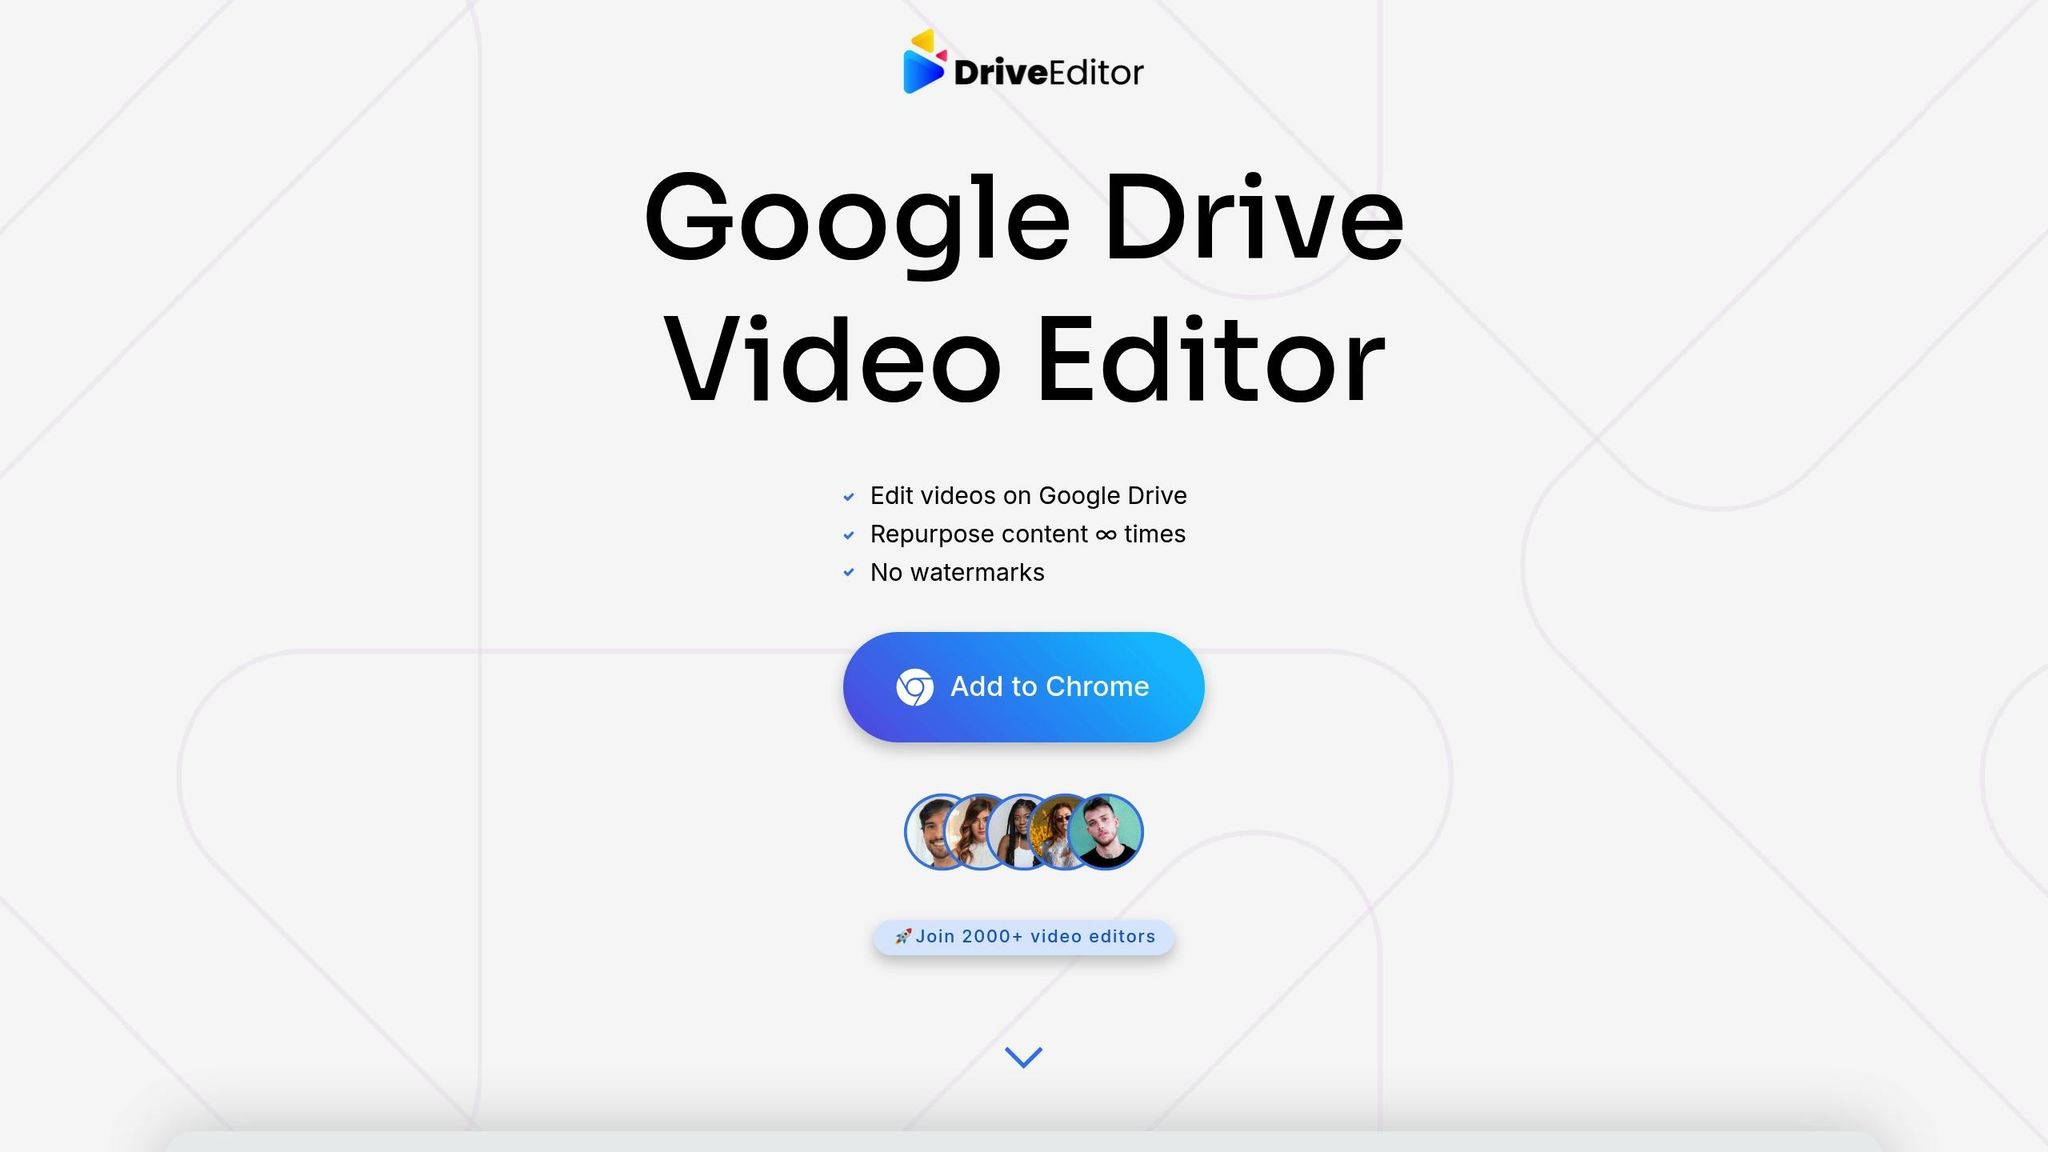
To get started, install the Google Drive Video Editor from the Chrome Web Store by selecting "Add to Chrome."
Grant the required permissions when prompted. This tool is CASA verified, meaning it meets Google’s security standards and won’t collect personal data during the editing process.
After installation, refresh your Google Drive and test the editor by opening a video file. Click on Edit video button under the video. If you encounter issues, update Chrome and ensure you’re signed in and all the permissions are granted.
The free plan allows 3 free video edits and 10 video edits every 30 days, making it a good option for light editing or testing the tool. Each "edit" counts as one exported video, regardless of the number of changes made during the session. For heavier editing needs, consider pay-as-you-go plans ($7 for 30 edits, $15 for 100 edits, or $19 for 200 edits) or the unlimited plan at $29/month for unrestricted use.
With the editor installed, you’re ready to dive into refining your videos.
Editing Videos in Google Drive: Step-by-Step Guide
These steps fit seamlessly into your Google Drive routine, keeping things simple and efficient.
Launching the Editor and Selecting a Video
Start by locating your video file in Google Drive. Open the file, click on Edit video button below the video. This will open the editor, automatically loading your video.
Once inside, you'll see the video preview, a timeline and editing tools at the bottom. Playback controls are located just under the preview. Before diving in, take a moment to review the video details, such as resolution, duration, and file size.
Once your video is loaded and ready, it’s time to explore the core editing tools.
Core Editing Features Explained
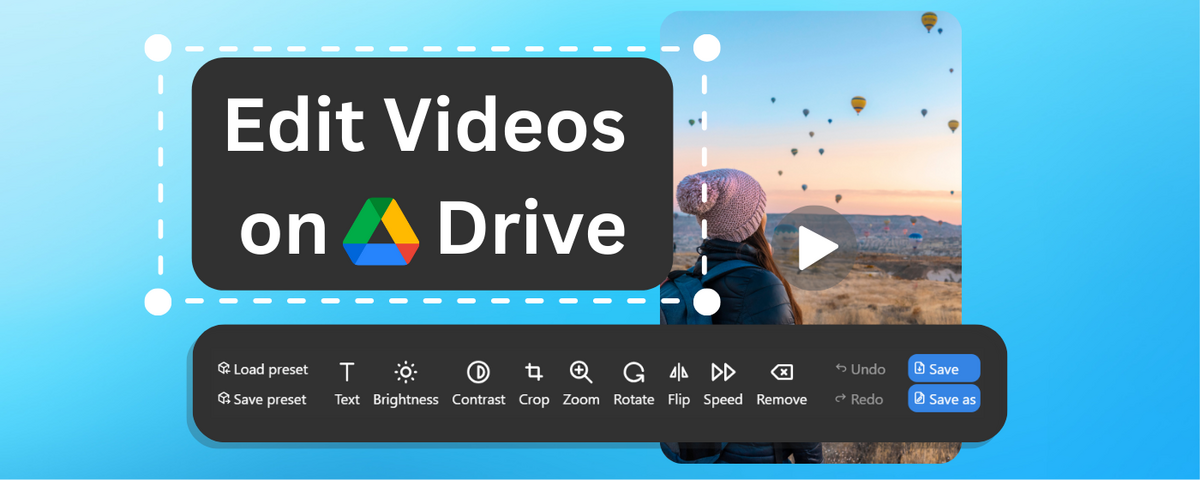
The Google Drive Video Editor Chrome extension comes with all the basics to handle most editing tasks:
- Trimming: Adjust the start and end points by dragging the handles on the timeline. This is perfect for cutting out unwanted sections.
- Cropping and Zooming: Focus on specific parts of the video or remove unnecessary areas. These tools are especially handy for converting landscape videos into vertical formats for social media.
- Text Overlays: Add titles, captions, or call-to-action messages by clicking "Text." Customize the font design by choosing one of 4 options, and placement, and set how long the text stays on screen by adjusting its timeline bar.
- Brightness and Contrast: Fix lighting issues with the sliders in the color correction panel. Brighten dark footage or tone down overexposed areas for a polished look.
- Rotation and Flip: Correct orientation problems or create mirror effects. These tools are great for mobile footage shot at awkward angles or for platform-specific needs.
- Speed Control: Use this feature to create slow-motion or time-lapse effects. Speeds range from 0.25x for dramatic slow-mo to 4x for fast-paced time-lapses.
- Audio Removal: Mute the original sound with one click, making it easier to add music or voiceovers later.
- Metadata Removal: Strip identifying information like location data or client details to ensure privacy and professionalism.
- Copy and Paste Presets: Save time by applying the same settings across multiple videos. Perfect for batch editing projects.
Once you’ve made your edits, you’re ready to export your video.
Saving and Exporting Your Edited Videos
When your edits are complete, click Save to replace the original video or Save As to save the edited video as a new file. By default, the editor keeps the original video quality and video format.
The saved video will be stored in the same folder where the original video is located. Use descriptive filenames that include the date and project name for easy tracking.
Exports usually take 1–5 minutes, depending on the video length and complexity of your edits. A progress bar will show the status, and you can continue working on other tasks while waiting.
Once the export is done, play back the video to ensure all edits are correct. Check text placement, video quality, and any other adjustments. If something’s off, you can reopen the editor load the preset and make adjustments.
Keep in mind that each export counts as one "edit" on the free plan and pay as you go plans, so it’s a good idea to do a thorough review before finalizing. Once exported, your video will be saved in the same Drive folder where the original video is located in, ready to share, download, or distribute - making your content creation workflow even smoother.
sbb-itb-0482353
Optimizing Videos for Social Media Platforms
To get the best results on social media, tailor your videos to each platform's specific requirements. With tools like the Google Drive Video Editor, you can easily adapt your content for different platforms without starting from scratch.
Recommended Export Settings by Platform
Each platform has its own video specifications, and meeting these is key to better performance:
- Instagram Stories/Reels: Use 1080 x 1920 pixels (9:16 ratio). Stories can be up to 15 seconds long, while Reels allow up to 90 seconds.
- Facebook Posts: Opt for either 1920 x 1080 pixels (16:9) or square (1:1). Make sure to grab attention in the first few seconds.
- YouTube Shorts: Stick to 1080 x 1920 pixels (9:16) for Shorts (up to 60 seconds). For regular YouTube videos, use 1920 x 1080 pixels (16:9).
- TikTok: The ideal size is 1080 x 1920 pixels (9:16). Shorter clips, ideally 15–30 seconds, tend to perform better.
You can also use cropping and rotation tools to reframe your videos. For example, turn a landscape video into a vertical format for Stories or Shorts, or into a square format for standard posts.
Using Google Drive to Share Content
Google Drive makes it simple to share and manage your video files. To share a file, right-click on it, select "Share", and adjust permissions to allow clients or collaborators to comment or download. This feature ensures everyone stays on the same page.
For better organization, create shared folders for each project. Use labels like "Raw Footage", "Work in Progress", and "Final Exports." Team members with editing permissions can upload and modify files, while clients with view-only access can download final versions without risking accidental changes.
Google Drive's version history is a lifesaver when managing multiple edits. Just right-click on a file and choose "Manage versions" to access or revert to earlier versions.
The Google Drive mobile app is another handy tool. It allows you to access files on the go, download exported videos to your phone, and upload them directly to social media without losing quality.
For bulk sharing, consider creating a master folder with all platform-specific versions of your videos. Share this folder with your social media manager or client to ensure they have easy access to the right files for each platform.
Choosing the Right Google Drive Video Editor Plan
Finding the right plan for your video editing needs comes down to balancing your editing frequency and budget. Google Drive Video Editor offers flexible pricing options to suit different levels of use.
Plan Comparison: Free vs. Paid Options
No matter which plan you choose, all Google Drive Video Editor options include the same core features and ensure your videos remain watermark-free. The main difference lies in how many edits you're allowed.
| Plan Type | Price | Edit Limit | Key Features | Watermark |
|---|---|---|---|---|
| Free | $0 | 3 edits (+10 free edits/month) | Add Text, Edit Brightness & Contrast, Crop & Trim, Mirror, Rotate, Zoom, Remove Sound, Remove Metadata, Copy/Paste Presets | No |
| Pay As You Go | $7 (30 edits), $15 (100 edits), $19 (200 edits) | Based on purchase (+10 free edits every month) | Add Text, Edit Brightness & Contrast, Crop & Trim, Mirror, Rotate, Zoom, Remove Sound, Remove Metadata, Copy/Paste Presets | No |
| Unlimited | $29/month | Unlimited edits/month | Add Text, Edit Brightness & Contrast, Crop & Trim, Mirror, Rotate, Zoom, Remove Sound, Remove Metadata, Copy/Paste Presets | No |
The Free Plan is ideal for occasional edits, offering 3 edits at no cost. For those with fluctuating editing needs, Pay As You Go Plans let you purchase a set number of edits as needed. Meanwhile, the Unlimited Plan caters to heavy users with no monthly cap on edits.
Picking the Right Plan for Your Needs
- If you’re just starting out or only edit occasionally, the Free Plan is a great choice.
- For more flexibility, the Pay As You Go Plans allow you to scale up or down based on your editing workload.
- If you’re consistently editing videos in high volumes, the Unlimited Plan ensures you’ll never hit a limit.
Choosing the right plan ensures that your video editing stays smooth and fits your specific needs, all within the convenience of Google Drive.
Conclusion: Simplifying Video Editing with Google Drive
The Google Drive Video Editor transforms your cloud storage into a powerful editing hub, letting you edit videos without downloading files, editing them and re-uploading the files back to Drive. By working directly in Google Drive, you keep everything in one place, streamlining your workflow and staying organized.
With its robust editing tools and cloud-based accessibility, this tool offers the freedom to edit from anywhere - whether you're at the office, at home, or even at your favorite coffee shop. This convenience is a game-changer for freelance video editors and social media marketers who often need to edit videos fast.
Security and privacy are key priorities. The editor is CASA-verified, meaning your video content stays protected during every step of the editing process. Plus, it doesn’t collect your data, so your sensitive projects remain confidential. Combined with its professional-grade features, this ensures your work stays polished and secure.
Another standout feature? There's no watermark on your videos, no matter the plan - so your content always looks professional.
The editor also supports a wide range of file formats and offers efficient batch processing, saving you time when working on multiple videos. This makes it an ideal tool for creators looking to simplify their content production.
Get started with 3 free edits, and upgrade as your needs grow to keep up with your creative demands.
FAQs
How does Google Drive Video Editor keep my video projects secure and private?
DriveEditor takes your video project security seriously, employing advanced encryption techniques like 128-bit and 256-bit AES encryption to safeguard your files both during storage and while they're being transferred. This added layer of protection ensures your content stays secure and out of reach from unauthorized access.
On top of that, Google Drive includes features such as two-factor authentication (2FA) and adjustable sharing permissions, giving you complete control over who can access or edit your files. If you don’t share your videos, they remain private and accessible only to you. These measures create a secure environment, letting you work on your projects with confidence within the Google Drive system.
Can I use DriveEditor on my phone, and how does it compare to using it on a computer?
No, you can’t use DriveEditor on your phone because the video editor Chrome extension works only on desktop Chrome browser.
It is also not recommended to edit files larger than 50 MB and longer than 5 min.
What’s the best way to organize video files in Google Drive for smoother editing?
To make video editing smoother in Google Drive, start with a well-organized folder system. Break your files into categories such as raw footage, edited drafts, and final versions. Stick to consistent naming conventions - this could include dates, version numbers, and project-specific keywords. For instance, a file might be named 2023-10-15_ProjectName_V1.mp4 to keep things clear and searchable.
Adding a splash of color to folders or including brief descriptions can make navigation easier, especially when collaborating with others. Don’t forget to declutter regularly and back up your files to avoid chaos or accidental loss. A structured approach not only saves time but helps ensure you never misplace critical content during the editing process.