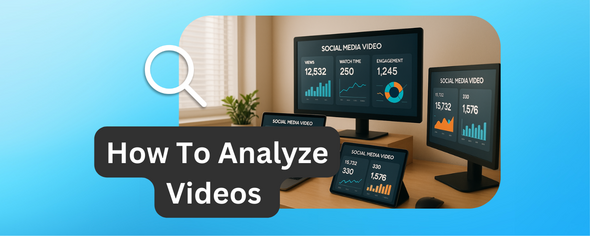
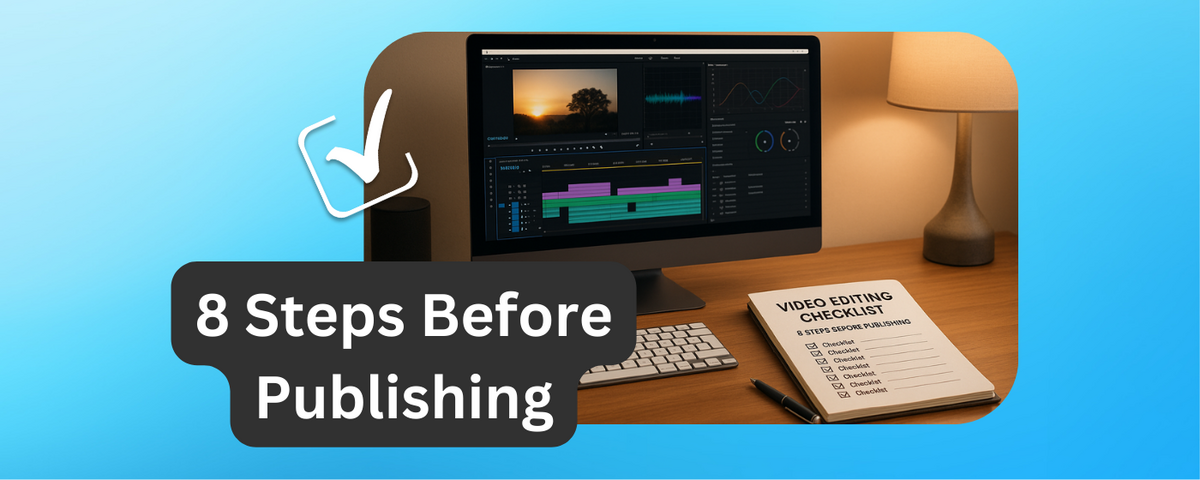
Publishing a video without a checklist can lead to errors like typos, poor formatting, or technical glitches.
A clear, step-by-step process ensures polished, professional results every time. Here’s a quick breakdown of the 8 essential steps:
- Review Video Quality: Check for sharp visuals, smooth transitions, and no pixelation.
- Format for Platforms: Use the correct aspect ratios for YouTube, Instagram, TikTok, and Facebook.
- Organize Files: Set up a structured folder system (e.g., raw footage, audio, graphics) using tools like Google Drive.
- Check Platform Rules: Ensure compliance with content guidelines and accessibility standards, including captions.
- Export and Test: Use proper resolution and formats (e.g., MP4, H.264) and test playback across devices.
- Write Metadata: Create keyword-rich descriptions, accurate tags, and clickable timestamps.
- Set Publishing Schedule: Choose the best time for maximum audience engagement and configure platform settings.
- Get Feedback: Share the video for review and make final adjustments.
Following this checklist saves time, reduces errors, and ensures your content meets professional standards. Let’s dive into each step in detail.
Video editing checklist for videographers
Step 1: Review Video Quality
Make sure your video looks polished and professional. A thorough review can help you spot and fix any problems that might detract from your content.
Check Video Quality
Watch your video all the way through to ensure it’s clear and sharp - no pixelation, distortion, or blurriness should be present. Pay attention to the transitions as well; they should flow smoothly, creating a seamless experience for viewers.
Step 2: Format Video for Social Media Platforms
Getting the format right for each platform is more than just a technical detail - it’s key to keeping your videos looking sharp and professional. Using the wrong dimensions can lead to awkward cropping, stretched visuals, or pixelation, all of which can hurt your engagement. Proper formatting ensures your content looks polished and reaches its full potential.
Set Correct Aspect Ratios and Resolutions
With videos now making up over 82% of consumer internet traffic, nailing the right format is a must.
- YouTube: Stick to the 16:9 landscape format at 1920x1080 pixels. This widescreen setup is made for desktop viewing and delivers the polished, professional appearance your audience expects.
-
Instagram: This platform gives you options. For feed posts, you can use:
- 1:1 square (1080x1080)
- 4:5 portrait (1080x1350) for better mobile optimization
- 16:9 landscape (1080x566) For Instagram Reels, go with the 9:16 vertical format (1080x1920) to fill the entire mobile screen.
- TikTok: TikTok is all about 9:16 vertical videos (1080x1920). This format takes full advantage of mobile screens, creating a fully immersive experience.
- Facebook: Here, you have flexibility. Use 16:9 landscape (1920x1080) for in-feed videos, and 9:16 vertical (1080x1920) for Stories and Reels.
When designing your videos, remember to leave "safe zones" free of text - 14% at the top and 20% at the bottom. This ensures that interface elements like profile icons or buttons don’t block your message.
Here’s a quick reference table for popular platforms:
| Platform | Video Type | Aspect Ratio | Resolution (px) | Max Duration | Recommended Format |
|---|---|---|---|---|---|
| YouTube | Standard Video | 16:9 | 1920x1080 | 12 hours | MP4, MOV |
| Feed Video | 4:5, 1:1, 16:9 | 1080x1350, 1080x1080, 1080x566 | 60 minutes | MP4, MOV | |
| Reels | 9:16 | 1080x1920 | 15 minutes | MP4, MOV | |
| TikTok | Standard Video | 9:16 | 1080x1920 | 10 minutes | MP4, MOV |
| Feed Video | 16:9 | 1920x1080 | 240 minutes | MP4, MOV | |
| Stories/Reels | 9:16 | 1080x1920 | 15 seconds (Stories) | MP4, MOV |
Once you’ve formatted your video, make sure your captions display correctly across all devices.
Test Subtitles and Captions on All Devices
After formatting, captions are the next step to ensure your video is accessible and engaging. Captions aren’t just a nice-to-have - they’re essential. With 85% of Facebook users and 80% of LinkedIn users watching videos without sound, clear captions can make or break your content’s reach.
Here’s how to get captions right:
- Font Choice: Use easy-to-read, sans-serif fonts like Arial, Helvetica, or Roboto. For HD videos, a font size of 22–28 points (or 1/16th of the screen height) works well for readability on any device.
- Color and Contrast: Stick with white or yellow text on a dark, semi-transparent background. This ensures your captions are readable against any video scene.
- Placement: Position captions at the bottom center of the video. If they cover important visuals, adjust their position as needed.
- Text Length: Keep captions concise - 32–40 characters per line and no more than 1–2 lines at a time. This avoids clutter and keeps viewers focused.
Testing is crucial. Videos with well-formatted captions see a 15% boost in engagement compared to those without. Plus, captions can increase overall video views by 7.32%. Check your captions on smartphones, tablets, and desktops to ensure they look great on all screen sizes and orientations.
Investing time in formatting and captions pays off by making your videos more engaging and accessible to a wider audience.
Step 3: Organize Files Using Google Drive
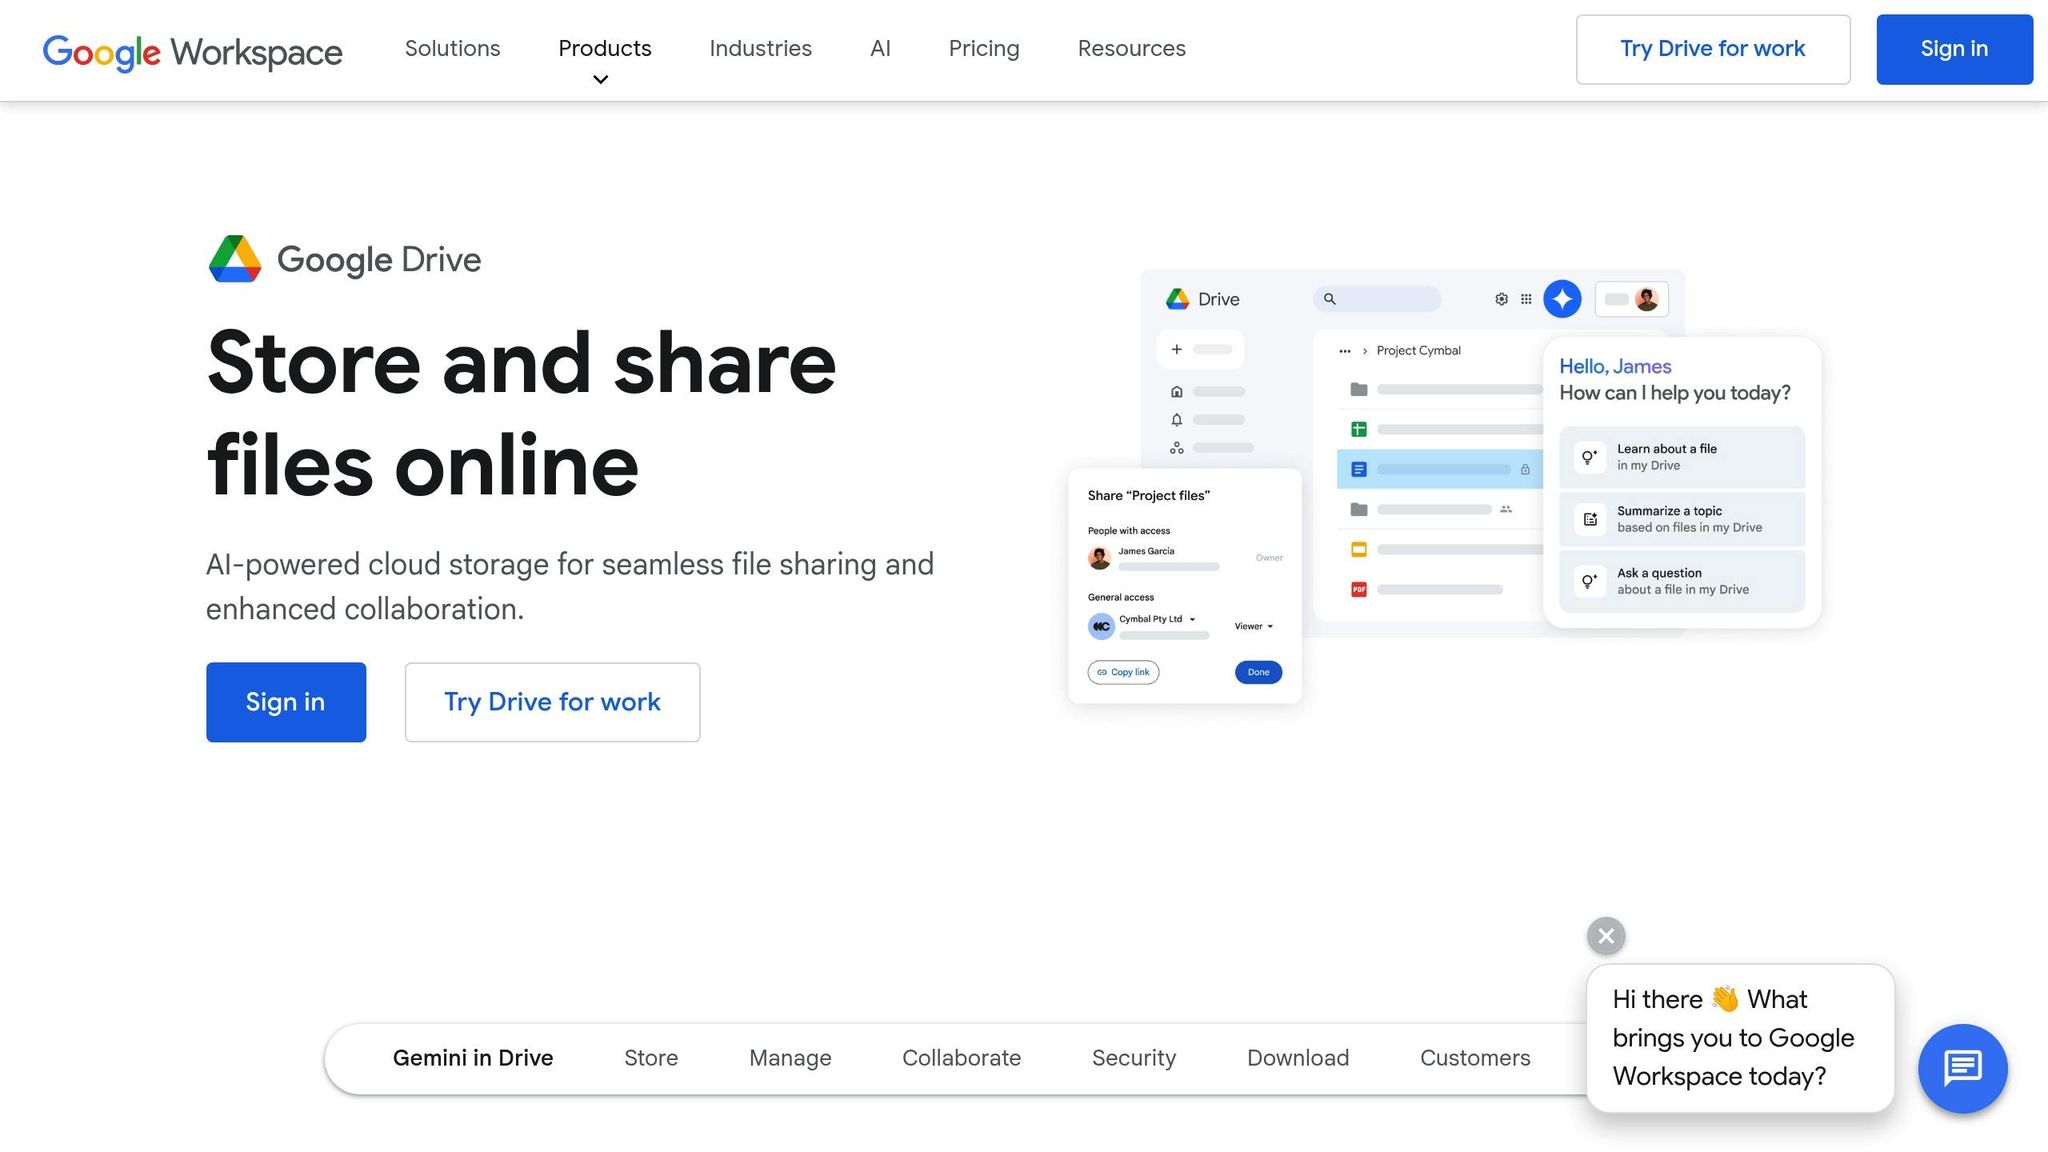
Keeping your files organized is a game-changer for video editing. Without a clear system, you risk wasting time searching for assets - or worse, losing them altogether. A well-thought-out Google Drive setup not only keeps things running smoothly but also makes teamwork a breeze.
Create a Clear Folder Structure
Start by dividing your files into two main folders: Projects and Library.
Inside each project folder, use numbered subfolders to keep everything in order. For example, you might have "01_Raw_Footage", "02_Audio_Files", and so on. This numbering makes it easy to find what you need at a glance and ensures everyone on your team follows the same system.
The Library folder acts as a central hub for reusable assets like music tracks, sound effects, templates, and stock footage. This setup reduces duplication and saves space. Plus, when all your project assets are in one place, it’s much simpler to move, copy, or back up files.
Here’s an example of what a well-organized folder structure might look like:
📁 Video Projects
  📁 2025_Client_ABC_Campaign
    📁 01_Raw_Footage
    📁 02_Audio_Files
    📁 03_Graphics_Assets
    📁 04_Work_in_Progress
    📁 05_Final_Exports
  📁 2025_Social_Media_Series
    📁 01_Raw_Footage
    📁 02_Audio_Files
    📁 03_Graphics_Assets
    📁 04_Work_in_Progress
    📁 05_Final_Exports

📁 Creative Library
  📁 Music_and_Sound_Effects
  📁 Graphics_Templates
  📁 Stock_Footage
  📁 Fonts_and_Typography
File naming is just as important. Use descriptive names and include dates to make version tracking easier. For instance, instead of a generic "Video_Final_v3.mp4", try something like "08-29-2025_ClientABC_SocialAd_Final.mp4."
Edit Videos Directly in Google Drive
Once your folders are set up, take advantage of the DriveEditor to streamline your workflow. Editing directly in the cloud eliminates the hassle of downloading, editing, and re-uploading files. It’s faster, saves storage, and keeps everything in one place.
The editor supports popular formats like MP4, MOV, AVI, MKV, and WEBM, so you don’t need to worry about converting files. Some of its standout features include:
- Adding text for titles or captions
- Trimming and cropping for quick edits
- Removing metadata to protect client privacy
You can also adjust playback speed to create slow-motion or time-lapse effects. Plus, the copy-and-paste presets let you apply consistent text styles, color corrections, or crop settings across multiple videos.
What makes this tool even better is its seamless integration with shared folders. Multiple editors can work on the same project simultaneously, updating files without creating version conflicts. As long as your team has internet access, everyone can collaborate from anywhere.
Pricing Options:
- Free Plan: Includes 3 initial edits and 10 free edits every 30 days
- Pay-As-You-Go: $7 for 30 edits, $15 for 100 edits, or $19 for 200 edits
- Unlimited Plan: $29 per month
Whether you’re producing occasional social media clips or managing a high-volume content schedule, there’s a plan to fit your needs.
Step 4: Check Platform Rules and Accessibility
Once your files are organized, the next step is making sure your video aligns with platform rules and accessibility standards. This is crucial to avoid issues like takedowns, copyright conflicts, or accessibility barriers that could limit your audience reach.
Follow Platform Content Rules
Take a close look at the copyright and licensing details for every element in your video - this includes music, images, and footage. Even royalty-free assets often come with specific usage restrictions, so double-check to ensure you have the proper rights for commercial use.
Beyond copyright, pay attention to the platform's specific guidelines regarding language, mature themes, or sensitive content. These factors can directly impact whether your video gets promoted or monetized. To simplify this process, create a checklist tailored to the rules of the platform you're using. This can help you stay organized and reduce the chances of running into policy violations.
Add Captions for Accessibility
Captions are a must-have for making your video accessible to viewers who are deaf or hard of hearing, as well as those watching in environments where sound isn't an option. While many platforms offer auto-generated captions, they often contain errors. Take the time to manually review and adjust them to ensure they’re accurate and properly synced with the audio.
Don’t forget to include descriptions of non-speech sounds, like "[music playing]" or "[laughter]", to give viewers the full context of your video. Also, ensure that captions have enough contrast to remain readable on all screens.
Adding captions doesn’t just make your video more inclusive - it can also improve its discoverability. For longer videos, consider adding chapter markers to make it easier for viewers to jump to specific sections.
Finally, test your captions on different devices. Mobile screens, for instance, display fewer characters per line compared to desktops. Previewing your video on a variety of devices, including both iOS and Android, ensures your captions are clear and readable no matter where your audience is watching.
sbb-itb-0482353
Step 5: Export and Test Final Video File
Once you've completed your platform compliance and accessibility checks, the next step is exporting your video and ensuring it works seamlessly across various devices and platforms. This process is essential for delivering a consistent and enjoyable viewing experience, no matter how your audience accesses your content.
Export in the Correct Resolution and Format
The quality of your video largely depends on your export settings. Start by matching the resolution to the platform's requirements. For example, 1920x1080 works for YouTube, while 1080x1920 is ideal for vertical formats. Use MP4 with H.264 encoding for a balance between quality and file size, and aim for a bitrate of 8–12 Mbps for 1080p videos. Remember to check the latest platform specifications before exporting, as these requirements can change.
File size is another critical factor. Some platforms support large uploads, while others impose stricter limits. Review the platform's size guidelines and adjust your export settings to avoid quality loss from last-minute compression. If you're using tools like DriveEditor, the platform often optimizes these settings for you, simplifying the process.
After exporting, test the video to ensure smooth playback. This step helps you catch any potential issues before publishing.
Test the Video Across Devices and Conditions
To ensure your video looks and sounds great everywhere, test it on a variety of devices, including iOS and Android smartphones, tablets, and desktops. Pay close attention to how text and graphics appear, especially on smaller screens. What looks fine on a desktop may be hard to read on a phone.
Audio testing is equally important. Play the video on phone speakers, headphones, and laptop speakers to confirm the sound is clear and balanced across different setups.
Network performance is another key consideration. Watch the video on both Wi-Fi and cellular connections to check for stuttering or long loading times. If playback struggles on mobile networks, consider reducing the file size by tweaking your export settings.
Finally, test your video on multiple browsers and apps. A video that runs smoothly in one environment might have issues in another. If your video includes interactive features - like clickable links, end screens, or embedded elements - double-check that they function correctly on all devices and platforms where you plan to share your content. Cross-platform consistency is crucial for a polished final product.
Step 6: Write Metadata and Descriptions
Crafting effective metadata is key to making your video more discoverable and engaging. Descriptions and tags act as a bridge, connecting your content with the right audience. A well-thought-out metadata strategy ensures your video gets the attention it deserves.
Write Keyword-Rich Descriptions
Your description needs to serve two purposes: improve searchability and entice viewers to click. Start strong with a hook in the first two sentences, as this text often appears in search results and social media previews.
Place your primary keyword within the first 125 characters, then follow it with a concise summary of what viewers will gain from watching the video. For example, if your video is about baking, you might start with: “Learn how to bake the perfect chocolate chip cookies in just 30 minutes!”
For longer descriptions, weave in relevant keywords naturally throughout the text. Avoid overloading it with keywords, as this can hurt your rankings. Instead, aim for a conversational tone that includes related terms. For instance, in a cooking video, you might mention "easy recipes", "step-by-step instructions", or "kitchen hacks."
Add clickable timestamps to help viewers navigate your video easily. For example:
- 0:00 Introduction
- 2:15 Ingredient Prep
- 5:30 Baking Tips
These timestamps not only improve user experience but also signal to platforms that your content is well-organized and valuable.
Don’t forget to include calls-to-action (CTAs). Encourage viewers to like, comment, or subscribe. Wrap up your description with links to related videos or social media profiles to keep them engaged with your content.
Add Tags and Categories
Once your description is complete, enhance your metadata with well-chosen tags and an accurate category.
Tags help categorize your video and improve its chances of appearing in searches and recommendations. Focus on 10-15 highly relevant tags rather than using every single one available. Quality matters more than quantity here.
Use a mix of broad and specific tags to capture various search intents. For example, a video about "Chicago food trucks" could include broad tags like "food trucks" and more specific ones like "Chicago street food" or "Midwest eats."
Research trending tags by analyzing successful videos in your niche. Check what tags high-performing creators are using, but only include ones that genuinely apply to your content. Using irrelevant tags can backfire by confusing algorithms and lowering your visibility.
If your content has a local focus, use location-specific tags. For instance, a video about "Los Angeles hiking trails" should include tags like "Los Angeles", "California hikes", and "West Coast adventures."
Finally, select the most accurate category for your video. Categories help platforms understand the type of content you’re offering and match it with the right audience. For example, a yoga tutorial belongs in "Sports & Fitness", not "How-To & Style", even if it incorporates elements of both.
Keep an eye on how your tags perform over time using analytics tools. Swap out underperforming tags for new ones based on search trends and audience behavior. Adapting your tagging strategy ensures your video stays relevant and continues to reach the right people.
Step 7: Set Publishing Schedule and Settings
Timing and preparation are everything when it comes to releasing content. A well-planned publishing schedule, paired with optimized platform settings, ensures your video reaches the right audience at the right time.
Choose Publishing Date and Time
Pick a release date and time when your audience is most likely to be active online. Use your platform's analytics to pinpoint peak engagement hours, and don’t forget to account for different time zones. Seasonal trends and events also matter - holiday-themed videos, for instance, should go live early enough to gain traction before the season ends.
To stay on track, take advantage of scheduling tools available on your platform. These tools ensure your content is published precisely when planned.
Configure Platform Settings
Fine-tuning your platform settings is just as important as choosing the right time to publish. These settings can directly influence how your video performs and how far it reaches. Here's what to focus on:
- Visibility Settings: Make sure your video is set to "Public" for maximum exposure. If you want to share it with a smaller group first, "Unlisted" is a good option. Avoid setting it to "Private" unless necessary.
- Monetization Settings: If you’re eligible for monetization, follow the platform’s guidelines to set it up correctly.
- Playlist Organization: Add your video to a relevant playlist. This not only helps with discoverability but also encourages viewers to explore more of your content.
- Community Features: Enable comments to foster interaction, but keep an eye on moderation to ensure discussions remain constructive. If you have an international audience, consider enabling community-submitted captions to make your video more accessible.
- Geographic Availability: Unless legal or licensing issues require restrictions, make your content available worldwide.
Lastly, don’t overlook the importance of engaging visuals. Use eye-catching thumbnails, clear and compelling titles, and interactive end screens to encourage viewer engagement and action.
With your schedule and settings locked in, your video is ready for its debut. The next step? Gather feedback and make any final tweaks before hitting publish.
Step 8: Get Feedback and Make Final Changes
Getting external feedback before publishing can elevate your content from being just good to something that truly resonates with your audience. This step helps you catch any overlooked issues and ensures your video connects with viewers as intended.
Share Your Video for Review
Choose reviewers who understand your video's target audience. This could include the client, project manager, marketing team, creative director, legal or compliance experts, and fellow editors. Each person brings a unique perspective, helping you spot technical, creative, or continuity issues you might have missed.
Set up a clear review process from the start. Define who reviews the video at each stage and what their focus should be. For instance, you might send the rough cut to the creative director first, then share it with the client, and finally pass it to legal for final approval. This structured approach keeps things moving smoothly and ensures everyone sticks to their area of expertise.
Capture Lessons for the Future
Once you've made the necessary edits, take some time to reflect on the process. Identify what worked well and what could be improved. Were there any workflow bottlenecks? Did technical issues arise? Jot these down to refine your process for the next project.
Pay attention to your timelines, too. How long did each review stage take? Were there delays that could be avoided in the future? Having a realistic understanding of your timelines will help you manage expectations for upcoming projects.
Look for patterns in the feedback you received. If certain issues keep coming up, it might signal a gap in your pre-review process that needs addressing. For example, if multiple reviewers flag similar problems, you can tweak your checklist to catch those earlier next time.
Store these notes in your Google Drive workspace alongside your project files. Over time, this growing repository of lessons will help you streamline your workflow and produce even better results.
Conclusion: Improve Your Publishing Process
Using this 8-step checklist transforms the chaos of publishing into a smooth and efficient workflow. Each step builds upon the last, creating a reliable system that ensures your content consistently meets professional standards.
Focusing on video quality first, formatting for social platforms next, and organizing files afterward helps establish habits that minimize errors. This means less time spent fixing problems after publication and more time crafting content that truly connects with your audience.
Your Google Drive workspace becomes the backbone of your process. With its file organization tools and collaborative features, like those in DriveEditor, you can easily track changes, manage feedback, and maintain version control - all without the usual stress of video production.
Once your workspace is organized, the next critical step is gathering and applying constructive feedback. Each round of feedback not only improves the current project but also fine-tunes your overall process. By following this checklist, you can confidently ensure your videos are technically polished, engaging, and ready to make an impact. That sense of clarity and control is invaluable, whether you’re publishing your very first video or your hundredth.
Start implementing these steps today - even partial adoption can lead to noticeable improvements. This checklist equips you to consistently produce professional content while sharpening your skills as a digital creator. By building these habits now, you’re setting yourself up for long-term success in your publishing journey.
FAQs
Why should videos be formatted differently for each social media platform?
Each social media platform comes with its own set of guidelines for video dimensions, formats, and settings, all aimed at delivering the best experience for viewers. Making sure your videos meet these requirements is key to ensuring they look polished and perform well. For example, you might need to adjust the aspect ratio for Instagram Stories or choose the right resolution for YouTube uploads.
By customizing your videos to fit the unique features and expectations of each platform, you not only make them more engaging but also increase their effectiveness. Tailored content is more likely to grab attention and make an impression in the ever-competitive world of social media.
How can I make sure my video meets platform rules and is accessible to everyone?
To make sure your video meets platform rules and is accessible to all viewers, start by checking the specific guidelines for the platform you’re using. Look out for details like video length, file formats, and aspect ratios - most platforms offer clear documentation to guide you through their requirements.
When it comes to accessibility, key areas to focus on include closed captions, audio descriptions, and making your content user-friendly for individuals with disabilities. Following standards like WCAG 2.1 (Level AA) can help ensure your video is more inclusive. It’s also a good idea to stay updated on these guidelines to remain compliant and steer clear of legal complications.
Incorporating these practices into your video production process will help you create content that’s accessible to a broader audience and tailored to platform-specific demands.
Why is it important to organize video project files with a folder system in Google Drive?
Keeping your video project files organized in a structured folder system on Google Drive can make a world of difference. It allows you to find files quickly, avoid mix-ups, and keep the editing process running smoothly.
Having a clear folder system also simplifies teamwork. When all related files are stored in one place, everyone can easily access the most up-to-date versions. This not only saves time but also helps reduce chaos, ensuring your projects stay on schedule and your workflow remains efficient.