Editing videos for social media is no longer just for professionals.
With basic tools and a clear process, you can create impactful content that fits each platform's needs. Here's what you need to know:
- Why Video Editing Matters: Videos outperform images and text on social platforms. Short, engaging clips hold attention longer, boosting visibility.
- Key Editing Basics: Learn terms like trimming, cropping, aspect ratios (e.g., 16:9 or 9:16), and resolutions (e.g., 1080x1920 for vertical videos).
-
Platform-Specific Tips: Each platform has preferred video lengths and formats. For example:
- Instagram Reels: 15–30 seconds, vertical (1080x1920).
- YouTube Shorts: Max 60 seconds, vertical.
- TikTok: Best between 15–60 seconds.
- Google Drive Workflow: Organize files into folders (e.g., "Raw Footage", "Final Exports") and use clear naming conventions. Google Drive Video Editor lets you edit directly within your browser.
- Editing with Google Drive Video Editor: Use tools like text overlays, cropping, and brightness adjustments. Plans range from free (3 edits + 10 edits every month) to unlimited ($29/month).
- Exporting Tips: Match aspect ratios, add captions, and export in MP4 format for best results.
Start small, post consistently, and tailor your content for each platform. With practice and tools like Drive Editor, you’ll improve quickly.
How to EDIT Social Media Videos Like a PRO
Setting Up Your Google Drive Workflow
Getting your files organized in Google Drive can save you a ton of time, reduce confusion, and make working with your team a breeze. When your workflow is structured, you can focus on creating great content instead of wasting time hunting down files.
Let’s start with folder organization to keep things running smoothly.
Uploading and Organizing Video Files
Start by creating a main folder called "Video Projects" and break it down into subfolders like "Raw Footage", "Edited Videos", "Assets," and "Final Exports." Stick to consistent naming conventions to make files easy to identify. For example, name your files descriptively, like product_demo_take1_08222025.mp4, instead of something vague like video1.mp4.
When it’s time to upload, take advantage of Google Drive’s drag-and-drop feature to move multiple files at once. Google Drive supports popular video formats like MP4 and MOV, so you shouldn’t run into compatibility issues.
Keep an eye on your storage limits. Free Google Drive accounts come with 15 GB of storage, which can fill up fast if you’re working with large video files. If you regularly deal with big projects, upgrading to a paid plan might be worth considering.
For recurring projects - like product demos, testimonials, or tutorials - set up template folders. Having a ready-to-go folder structure that you can duplicate and rename for each new project saves time and keeps everything consistent.
Once your files are neatly organized, the next step is setting up permissions to make collaboration secure and efficient.
Sharing and Managing Permissions
Google Drive’s sharing tools make teamwork simple, but setting the right permissions is key. When sharing video files, assign "Viewer" access to collaborators who only need to watch or download the content. This prevents accidental edits or deletions. For team members who need to upload files or make changes, give "Editor" access - but be selective about who gets this level of control.
Sharing entire folders instead of individual files is a smarter way to go. This way, anyone with access to the folder automatically gets access to new files added later, saving you extra steps.
For short-term collaborators or external clients, use expiration dates on shared links. This ensures their access automatically ends after a set period, adding an extra layer of security.
Avoid using the "Anyone with the link" option for sensitive projects. Instead, share files with specific email addresses to maintain tighter control. You can also customize permissions based on roles - clients may only need to view drafts, while your editing team might require full editing access.
Managing File Versions
When you’re working on projects with lots of revisions, version control is a lifesaver. Add version numbers to your file names to track major updates. For example, label your first draft as v1, then move to v2, v3, and so on for significant edits. For smaller tweaks, you can use labels like v2a or v2b.
To stay organized, create milestone folders for key stages of the project, such as "First Draft", "Client Review," or "Final Version." Move completed versions into these folders so you can easily find them later.
Keep a simple text document in each project folder to log major changes, client feedback, and revision requests. This helps you track the project’s progress and ensures everyone’s on the same page.
Finally, make it a habit to clean up old versions regularly to free up storage space. For critical projects, set up a reliable backup routine to safeguard your work against any unexpected issues.
Editing Videos with Google Drive Video Editor
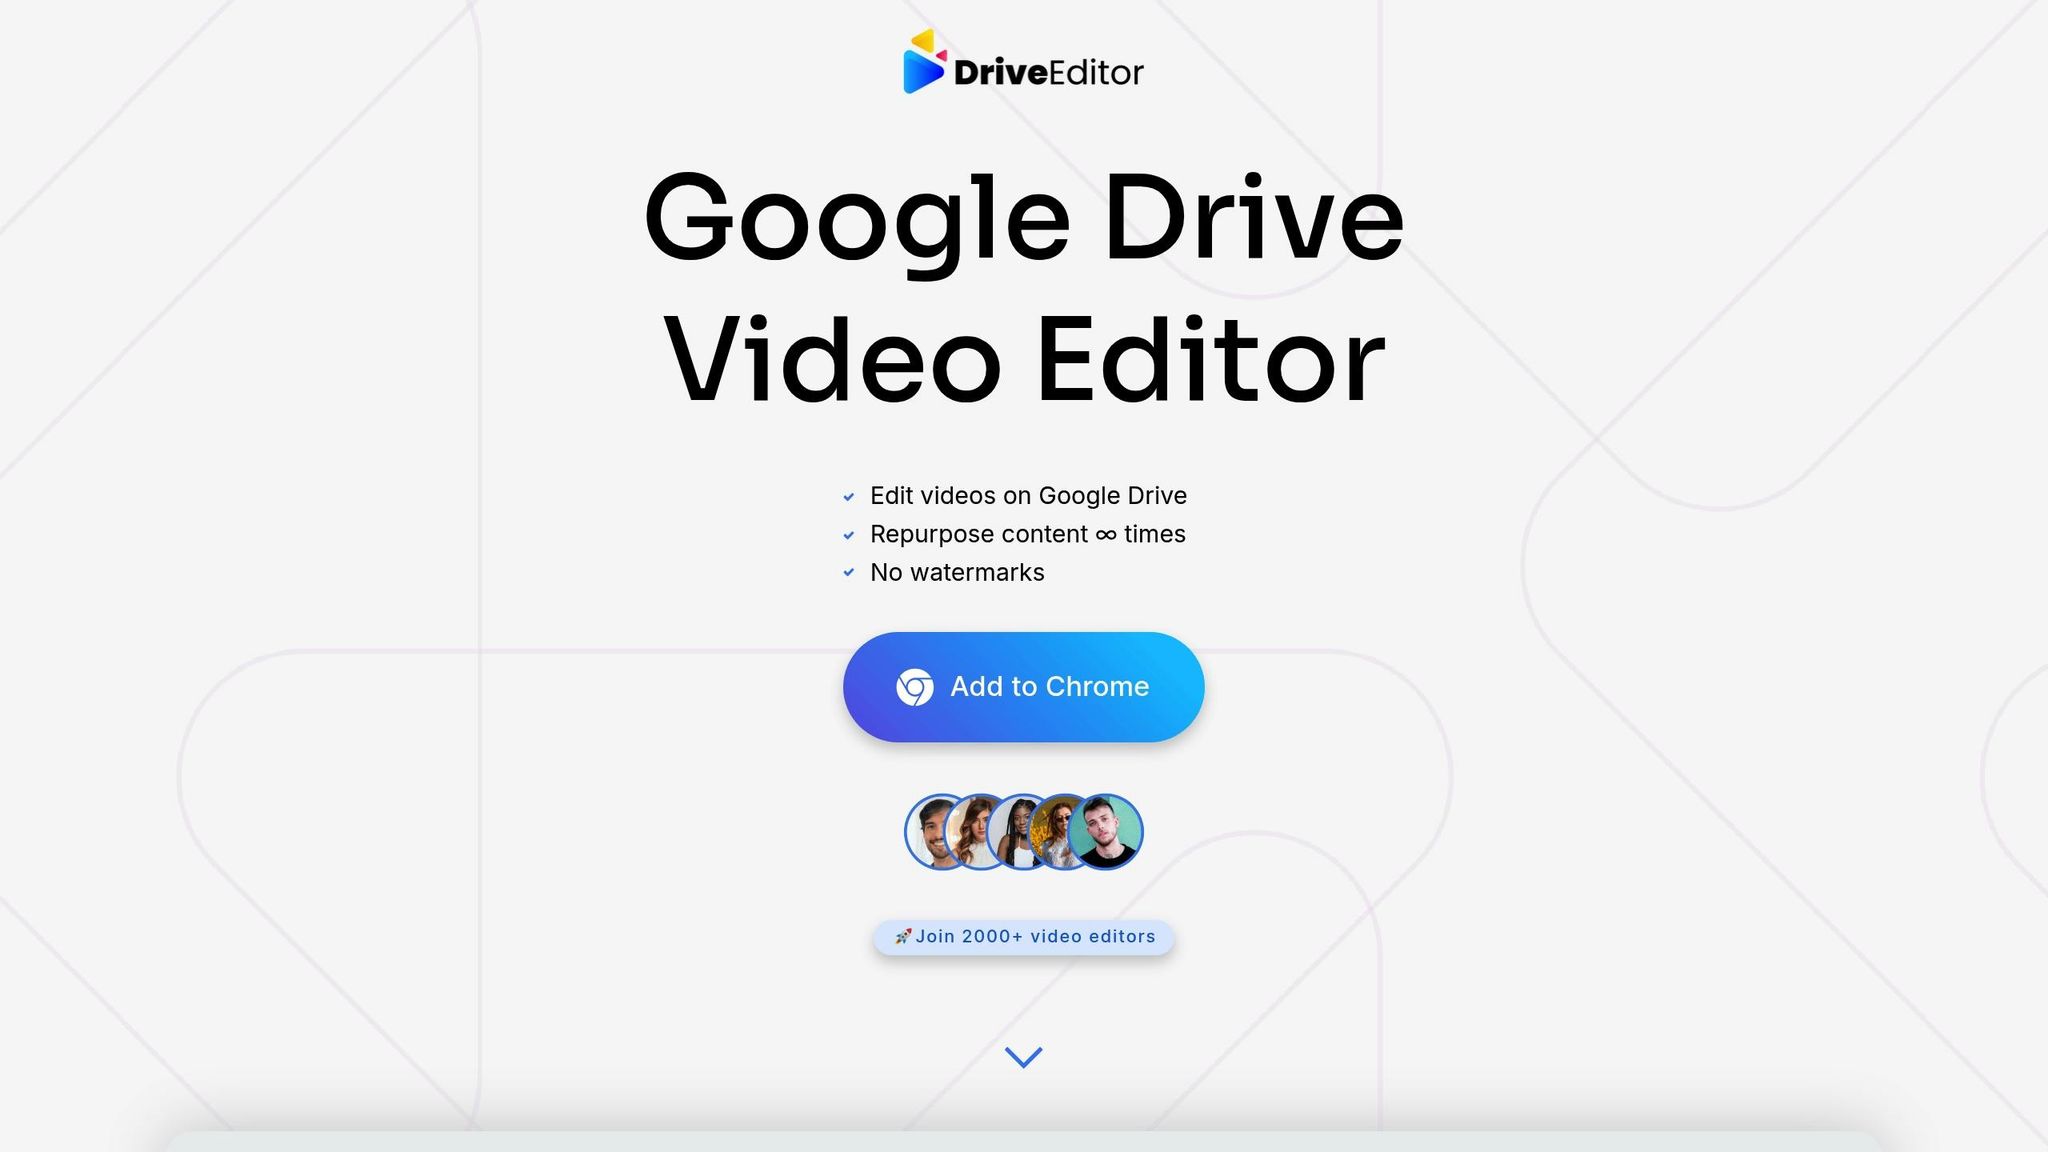
Once your files are neatly organized and shared, it’s time to dive into editing. With Google Drive Video Editor, you can edit videos directly in your browser - no extra software required.
Installing Google Drive Video Editor
To get started, install the DriveEditor Chrome extension from the Chrome Web Store and log in using your Gmail account.
After installation, open Google Drive, select the video file you want to edit, and click the "Edit video" button. This will launch the editor right within your browser. Read this guide on how to start editing with DriveEditor. The extension works seamlessly with videos stored in both personal and shared folders, making it perfect for collaborative projects. Once you’re done editing, your changes are automatically saved back to Google Drive, preserving your folder structure.
Main Editing Features and Tools
Google Drive Video Editor offers a range of tools designed for creating social media-ready videos. Here’s a look at some of the key features:
- Text Overlay: Add captions or titles to your videos - perfect for grabbing attention, even when viewers watch without sound.
- Brightness and Contrast Adjustments: Fix lighting issues or ensure a consistent look across multiple clips.
- Cropping and Trimming: Resize videos to fit various aspect ratios or remove unwanted sections.
- Rotation and Mirroring: Adjust video orientation or create creative effects.
- Copy/Paste Presets: Apply the same edits across multiple videos quickly and efficiently.
Other tools include metadata and sound removal, zoom controls, and speed adjustments, giving you plenty of creative options. The editor supports popular video formats like MP4, MOV, AVI, MKV, and WEBM, as well as codecs such as AV1, H.264, H.265, VP8, and VP9. For the smoothest experience, stick to videos under 50MB and shorter than 5 minutes. If you’re working with MOV files, consider converting them to MP4 for better compatibility.
Pricing Plans and Limits
Google Drive Video Editor offers flexible pricing plans to suit different editing needs:
| Plan | Price | Monthly Edits | Best For |
|---|---|---|---|
| Free | Free | 3 edits | Testing and light use |
| Pay As You Go | $7–$19 | 30–200 edits | Occasional editors |
| Unlimited | $29/month | Unlimited | Professional editors |
All plans include the same set of features, and none of the exported videos carry watermarks - even on the Free Plan. This ensures that you can produce polished, professional-quality videos regardless of your budget or plan.
sbb-itb-0482353
Optimizing Videos for Social Media Platforms
Fine-tuning your videos both technically and creatively can significantly improve how they perform on social media. This process works hand-in-hand with tools like Google Drive Video Editor, helping you streamline your workflow. Remember, each platform has its own specific requirements.
Aspect Ratios and File Resolutions
Every social media platform has preferred video dimensions, and using the wrong aspect ratio can lead to awkward cropping or unwanted borders.
- Instagram feed: 1080x1080 (square) or 1080x1350 (portrait)
- TikTok and Instagram Reels: 1080x1920 (vertical)
- YouTube Shorts: Also follows the 9:16 vertical format
When planning your shots, always keep the final aspect ratio in mind. This ensures that key visual elements stay centered and don’t get cropped out during editing.
Once your dimensions are squared away, don’t forget to add captions to make your video more accessible and engaging.
Adding Captions and Subtitles
Captions can be a game-changer, especially since many users scroll through their feeds with the sound muted.
Google Drive Video Editor’s text overlay feature makes it easy to add captions. For maximum readability, use a font size that’s clear on smaller screens, and pair white text with a dark outline or solid background for contrast. Place captions in the lower third of your video to keep important visuals unobstructed. Keep them short and to the point to ensure your message is clear.
With captions in place, it’s time to fine-tune your export settings.
Exporting Videos for Social Media
Your export settings play a big role in determining the final quality of your video. When saving your work in Google Drive Video Editor, export in MP4 format. This strikes a good balance between file size and quality while ensuring compatibility across platforms.
Consistency in frame rate is another key factor. A steady 24fps gives your video a cinematic vibe, while 30fps is better suited for standard social media content. Whatever you choose, stick to one frame rate to avoid playback issues.
Export your video at the recommended resolution for each platform, and if you’re posting on multiple channels, consider creating separate versions to match each platform’s specs. Don’t overlook audio - social media platforms often adjust volume levels automatically, so ensure your audio is consistent throughout.
Finally, test your video on the devices your audience is likely to use. A video that looks sharp on a computer might need adjustments to maintain its clarity and readability on a smartphone screen.
Team Collaboration and Workflow Tips
Smooth collaboration is just as important as efficient editing when it comes to creating great social media videos. Google Drive’s collaboration tools make it simple to manage edits, share feedback, and keep everyone aligned throughout the production process.
Working with Shared Folders
A well-organized file system is the backbone of effective teamwork. Start by setting up shared folders for each project, and structure them into subfolders like "Raw Footage", "Work in Progress", and "Final Versions."
When sharing these folders, assign roles that match each team member's responsibilities. For example:
- Editor access should go to those actively editing video files.
- Viewer access works best for clients or stakeholders who only need to review content.
- Commenter access is ideal for team members providing feedback without making direct changes.
You can also create separate folders for different stages of the workflow. For instance, a "Review" folder can hold videos waiting for approval, while an "Archive" folder stores completed projects. This setup keeps your workspace tidy and prevents active projects from being mixed up with finished ones.
For larger teams, establish clear naming conventions early on. Use formats like "ProjectName_Version_Date" for files - something like "InstagramReel_v2_082225" instantly communicates what the file is and its status. Consistent naming makes it easier to track progress and avoid confusion.
Tracking Edits and Version Control
Google Drive's Activity log is a great way to monitor who’s made changes to files. Just click the information icon next to any file or folder to see a detailed history of edits.
When updating video files, use the "Manage versions" feature instead of uploading entirely new files. This keeps shared links intact and ensures everyone stays connected to the latest version.
For important milestones, use the "Keep forever" option to save key versions, such as the first rough cut, the client-approved version, or the final export. This prevents Google Drive from automatically deleting older versions after 30 days or 100 newer revisions. However, keep in mind that older versions take up storage space. Regularly review and delete unnecessary versions unless they’ve been marked to keep forever.
These practices help maintain consistency and make it easier to manage team projects efficiently.
Google Drive Video Editor Plan Comparison
Choosing the right plan depends on how much editing your team does each month:
| Plan | Price | Monthly Edits | Best For |
|---|---|---|---|
| Free Plan | $0 | 3+10 edits | Individual creators trying out the platform |
| Pay As You Go | $7 (30 edits) $15 (100 edits) $19 (200 edits) |
Varies by package | Small teams with occasional projects |
| Unlimited Plan | $29/month | Unlimited | Active social media teams and agencies |
The Pay As You Go plans are great for teams with fluctuating workloads - you can purchase 100 edits during a busy month and scale back when things slow down. But if your team produces content regularly, the Unlimited Plan is often the smarter choice. With more than 200 edits per month, it becomes cost-effective and eliminates the need to track usage.
All plans come with the same core features, such as text overlays, brightness adjustments, and cropping, so you won’t miss out on functionality. The main difference between plans lies in how many edits you can make, not in what tools are available.
Conclusion
Creating engaging social media videos doesn’t have to be overwhelming. With the right tools and a bit of practice, anyone can produce content that grabs attention on platforms like Instagram, TikTok, and YouTube.
Here’s a quick recap to help you on your editing journey.
Key Takeaways
Video editing turns ordinary clips into scroll-stopping content. Simple tweaks like adding captions, adjusting brightness, or formatting for the right aspect ratio can significantly boost your video’s impact in today’s fast-paced digital world.
Google Drive Video Editor simplifies the process. It integrates seamlessly into your file system, allowing you to edit videos directly without extra software. With support for all major formats, it offers plans ranging from a Free Plan (3 edits) to an Unlimited Plan ($29/month for teams).
Focus on collaboration and export quality over flashy effects. Prioritize essentials like correct aspect ratios, captions for accessibility, and high-resolution exports. These details often matter more than complex transitions or filters when it comes to performance.
Keep these points in mind as you dive into video editing.
Getting Started with Video Editing
The best way to learn is by doing. Start with the Free Plan to explore Google Drive Video Editor’s features. Experiment with basic edits - crop your videos, add text overlays, or tweak brightness - and upload test clips to hone your skills.
An organized file system in Google Drive can save you a lot of headaches. Create folders like “Raw Footage,” “Work in Progress,” and “Final Videos” to keep your projects tidy as your content library grows. Begin with shorter videos to build confidence before tackling longer projects.
Consistency is more important than perfection. Regularly posting simple, well-edited videos will grow your social media presence faster than obsessing over every detail of a single post. Use features like copy-and-paste presets to maintain a cohesive style across your content.
Start small and improve over time. Focus on clear storytelling, keeping your audience engaged, and gradually refining your editing skills. With Google Drive Video Editor’s intuitive tools and your dedication, you’ll be producing polished social media videos in no time.
FAQs
How do I create social media videos optimized for different platforms using Google Drive Video Editor?
To craft social media videos that shine on each platform using Google Drive Video Editor, start by aligning your content with the specific needs of each platform. Pay attention to details like aspect ratio, video length, and overall style. Use the editor's cropping and trimming tools to adjust dimensions and ensure your video is concise yet engaging.
Make sure to grab attention right from the start. Add overlay text to make your content accessible to a wider audience, and enhance visuals with elements like on-screen text, popular music, or fun effects.
What are the main advantages of organizing video files in Google Drive for social media editing?
Keeping your video files organized in Google Drive can make your editing process much more efficient. With everything neatly arranged, you’ll have quick and easy access to your footage, saving time and keeping your workflow on track.
A clear folder structure helps you stay on top of file versions, quickly find specific clips, and maintain order throughout your project. This approach minimizes mistakes and delays, letting you concentrate on crafting polished, engaging content for your social media audience.
What tools and features does Google Drive Video Editor provide to improve video quality and make content more engaging?
Google Drive Video Editor comes packed with tools to refine your videos and make them more engaging. You can tweak brightness, crop frames, trim unwanted sections, and rotate clips to perfect the visuals. On top of that, you can add text and mirror the video.